
A comfort meal that will end your town food cravings, while adventuring deep in the wilderness.
Ever been in the middle of nowhere and someone in your adventure group starts chatting about their favourite home cooked meal, the “moons over my hammy’ at Denny’s or their favourite pizza toppings? Maybe you are out on a solo mission and start day-dreaming about greasy cheese burgers and poutine, but remember you are 6 days away from the nearest town by foot. If you have spent enough time in the backcountry, in the high country, in river valleys or paddling along lake shores you will understand that sooner or later you start to get sick of the same old dehydrated meals. I wanted something simple and easy to have for a warm lunch on days when I need a little extra pick me up. I came across an idea in an old canoe tripping cook book I was given, except the original recipe wasn’t a dehydrated meal – “Pulled Pork tacos”.
I first learned how to dehydrate pork, with some trial and error as well as some online research. It turns out it’s a lot like dehydrating chicken. Most articles I read and dehydrator recipes I browsed all seem to mention using pressure cooked chicken, which was often in the form of canned chicken, as many people don’t often have pressure cookers nowadays – or do they? After thinking about it I knew my parents owned an “Insta-Pot”, as so many households seem to have them nowadays (just not mine) and I thought I would give that a shot, since its literally a modern day presser cooker. For the best chance of success, while dehydrating meat it’s good practice to use as little fat as possible. I chose Pork Tenderloin, being one of the least fatty cuts. The meat came out of the Insta-Pot nicely cooked, moist and falling apart, which made it really easy to finish the job with a fork. After cooking, shredding, and dehydrating I was quite surprised with how well it rehydrated and how much the meat felt in texture and tasted like a home cooked meal. As with the original recipe, I wanted to keep the rest of this one simple. Besides either a home made or store bought taco seasoning, the only other ingredients are corn and black beans, both of which are incredibly easy to prepare yourself. If I have any on hand, some good (expensive) aged cheddar is really nice on top. For the outer wrap, either the old school flour tortilla, or, if you are gluten intolerant like myself, I nice and warm corn tortilla will do the trick. This is one of the best lightweight meals you will eat on your adventures, I am sure of it. Keep reading below to learn how to make it for yourself.
Note: If you don’t have access to an Insta-Pot or a pressure cooker I think your next best bet is to cook the meat in a manner that will reduce the amount of fat content as much as possible, all while ensuring even moist heat. Off the top of my head a few things come to mind, like an electric crock pot or roasting pan in the oven and keep the meat raised out of any potential fats in both cases. I can’t say this will work for sure, but it was originally what I was going to try.
Instructions for Dehydrating Pork Tenderloin:
Step 1:
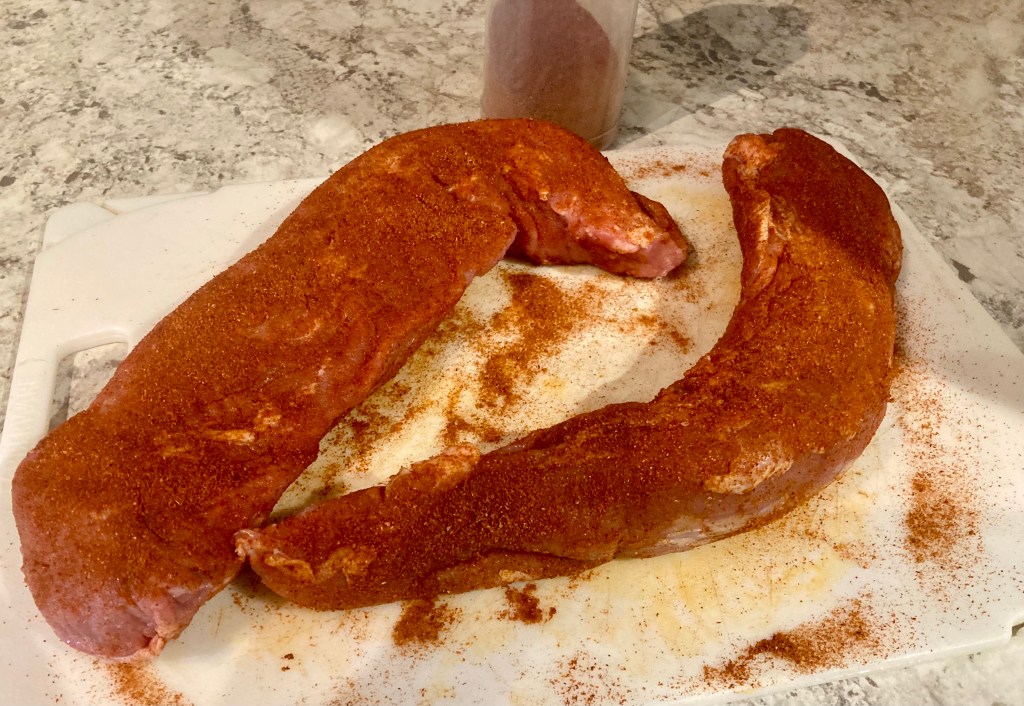
Use your favourite BBQ dry rub and season the pork the night before, if you have the time.
Step 2:
Clean the work area, your hands, and make sure the Insta-Pot is clean and dry.
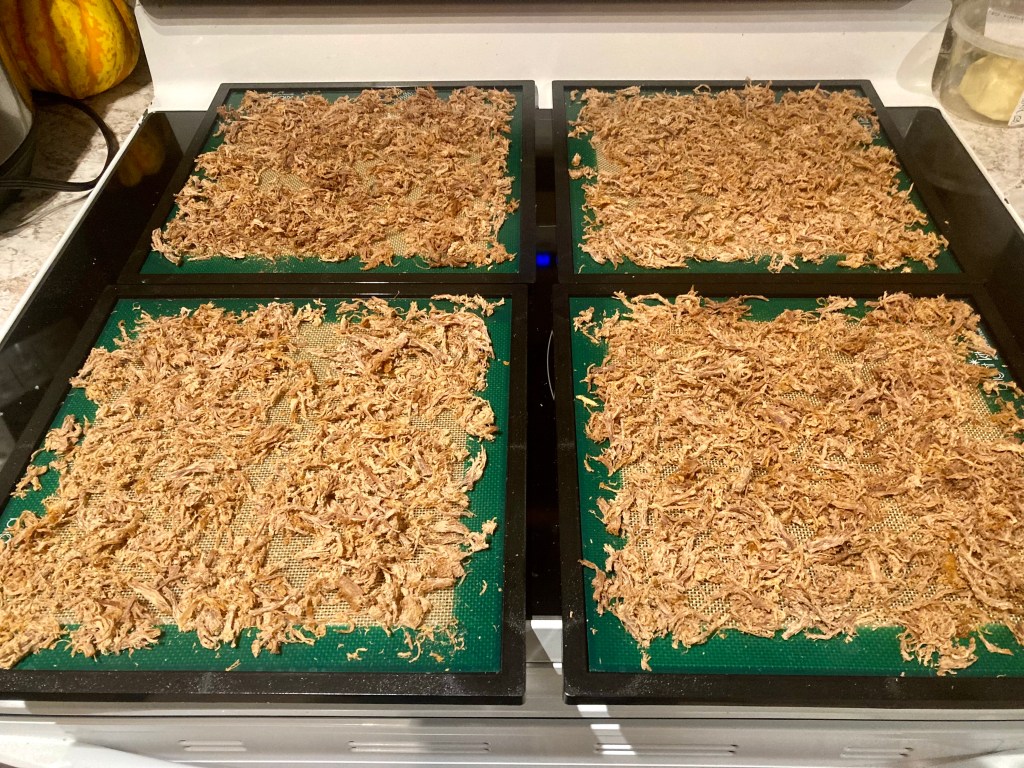
My twelve inch by twelve inch, four tray, Excalibur dehydrator can dehydrate two pork tenderloin in one go.
Use the metal grill to elevate the meat off of the bottom of the Insta-Pot, so the meat doesn’t sit in its own fatty juices while cooking.
Note: Removing the fat is an important step for the overall safety and quality of the dehydrated food. Any fats left on the meat could cause the food to go rancid, especially during prolonged periods without cooling, such as long, especially hot canoe trips.
Step 3:
Start with a clean and dry dehydrator.
Set your dehydrator to 165 Degrees F and turn it on, so that it heats up prior to being needed – give it 10-20 minutes.
Step 4:
Follow the Insta-Pot instructions for cooking pork.
Mine has a meat setting, which I typically cook for 30 minutes and let naturally vent for a further 10 minutes.
This seems to make the meat nice and moist, as well as tender and easy to pull apart.
Note: Always check to make sure you are cooking meat to a safe temperature and use an instant thermometer to test.
Step 5:
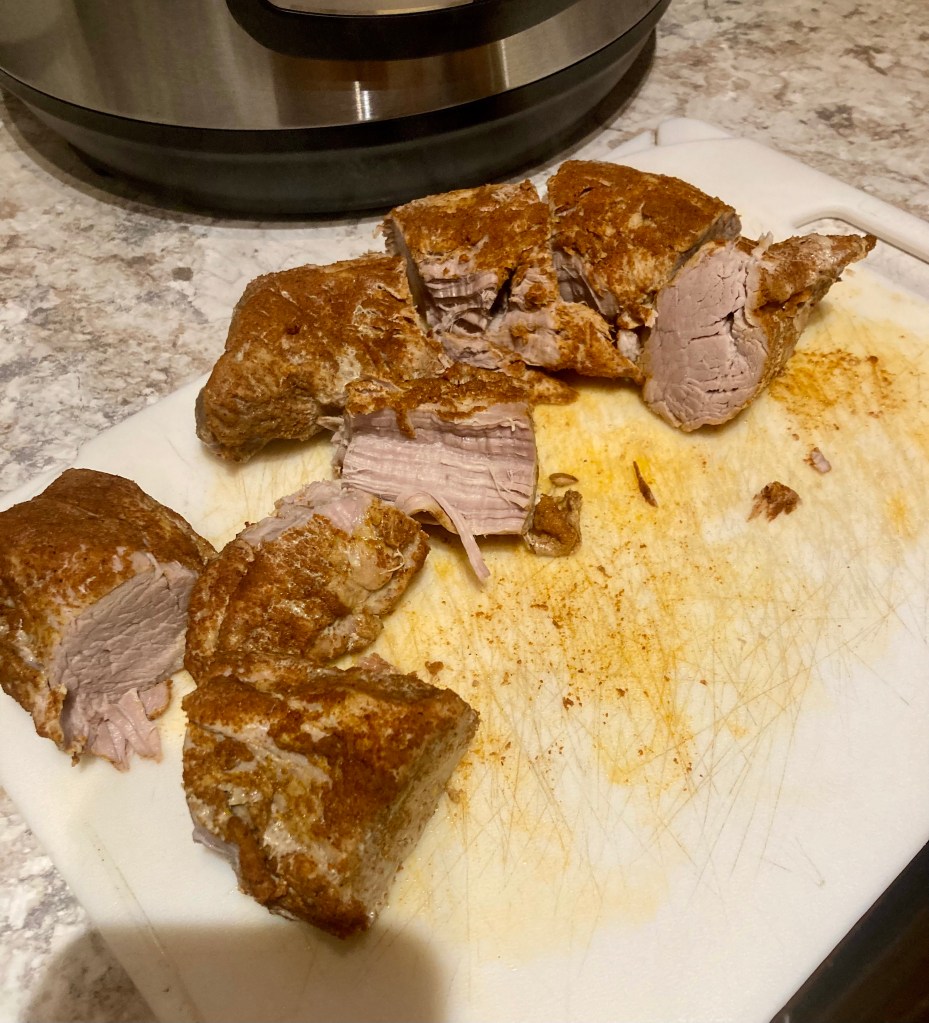
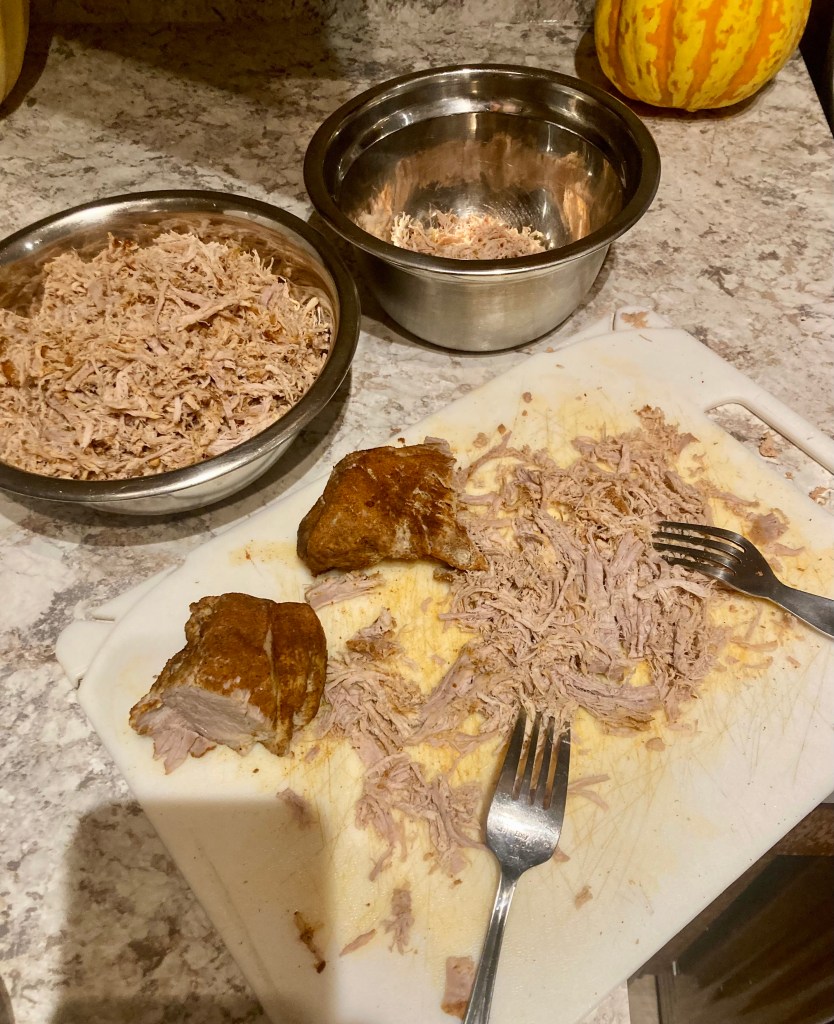
Once cooked, remove the meat from the Insta-pot and allow to slightly cool, until you can handle it.
Cut the pork into smaller chunks – 3 to 4 pieces and then shred with forks, or cut up with a knife along the grain, to a relatively even consistency.
Note: If you shred the pork too finely, it will turn to fine hairs once dehydrated, which will be easily crushed and turn to dust.
I have found its best to shred into small chunks about the size of spaghetti, for best results.
Step 6:
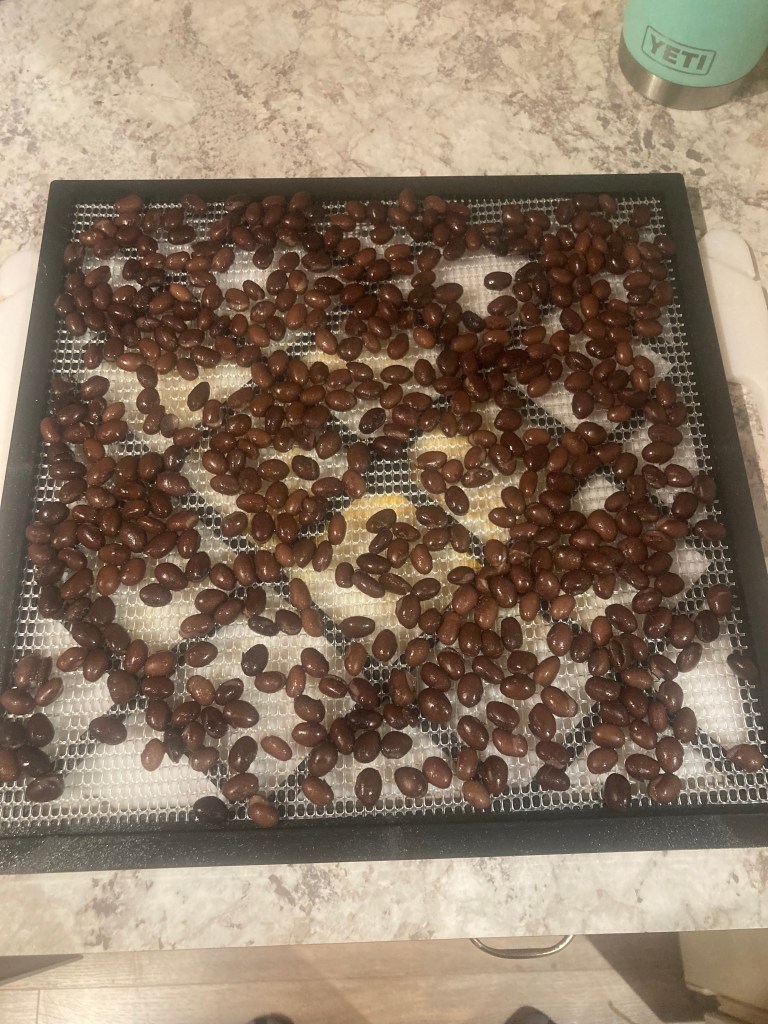
Spread the now shredded Pork tenderloin evenly between the four dehydrator trays with lots of air space around the pieces to promote even drying.
Insert the trays in to the pre-warmed food dehydrator – set to 165 Degrees F.
Note: The use of silicone liners prevent small crumbs from falling through the normal grated liners as the pork dehydrates.
Step 7:
After 3 hours of dehydrating, I rotate all of the trays and move up one level, while the top tray moves to the bottom level.
I move the trays every 1.5 hours, after the first 3 hours, so the meat dries evenly.
The pork tenderloin is complete, when its dry to the touch and pieces can be “snapped” or broken apart.
This normally takes about 4-6 hours.
Note: The interior temperature and humidity of your home will greatly affect this process.
Step 8:
Clean and dry the Insta-Pot and store for next use.
Step 9:
Let the now dehydrated ground beef cool down and place into freezer bags for shorter term freezer storage or vacuum seal for longer term freezer storage.
I usually vacuum seal in bulk until my trip gets near. A few days before my trip, I will remove the meat from the freezer, mix with other foods and vacuum seal in pre-portioned sizes or pre-portion the pork on its own and vacuum seal into individual bags.
Note: All of the information I have read seems to put the shelf life of vacuum sealed and frozen meat at no longer than 2 years, before it is not usable anymore. It is not recommended to store in air tight containers at room temperature for more than two weeks. If you can keep the meat relatively cool, dry and vacuum sealed it should keep in the 1-2 month range. If anyone has any further information on shelf life or to correct me, shoot a message down in the comments.
Portion: You may have to adjust this to your liking, but I find that 50grams of dehydrated meat (pork, chicken, beef) is appropriate for one serving, for one person. I will use this amount for adding to meals like Shepards Pie, Pasta and Meat Sauce, etc…
Step 10:
Clean and dry your dehydrator, shelves and other parts and store for next use.
Instructions For Dehydrating Black Beans:
Step 1:
Set dehydrator to 125 Degrees F and let heat up – give it 10 to 20 minutes.
Step 2:
Drain and rinse three cans of Black beans.
Spread evenly over the 4 dehydrator trays, while the dehydrator heats up.
I use the regular grated racks for this job.
Step 3:
Put the trays of black beans in the dehydrator.
Same as the pork. – After 3 hours of dehydrating, I rotate all of the trays and move up one level, while the top tray moves to the bottom level.
I move the trays every 1.5 hours, after the first 3 hours, so the meat dries evenly.
The black beans are complete, when they are dry to the touch and the pieces are brittle.
This normally takes about 5-8 hours.
Note: The interior temperature and humidity of your home will greatly affect this process.
Step 4:
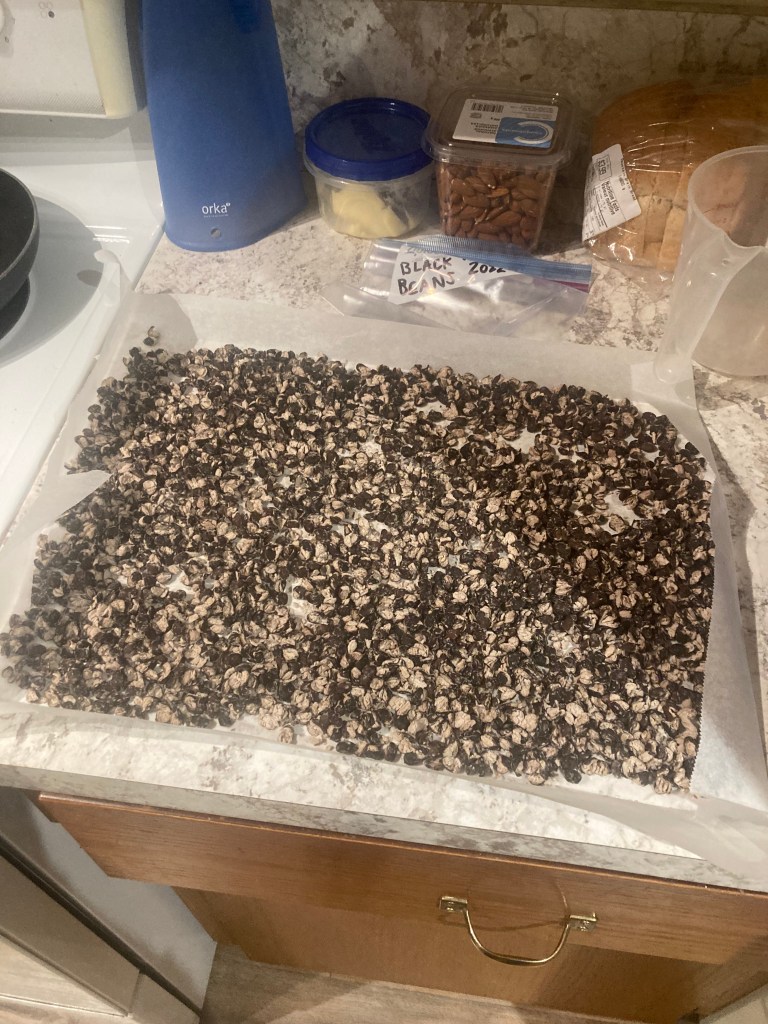
Once complete remove the trays of black beans from the dehydrator and let sit to cool.
Step 5:
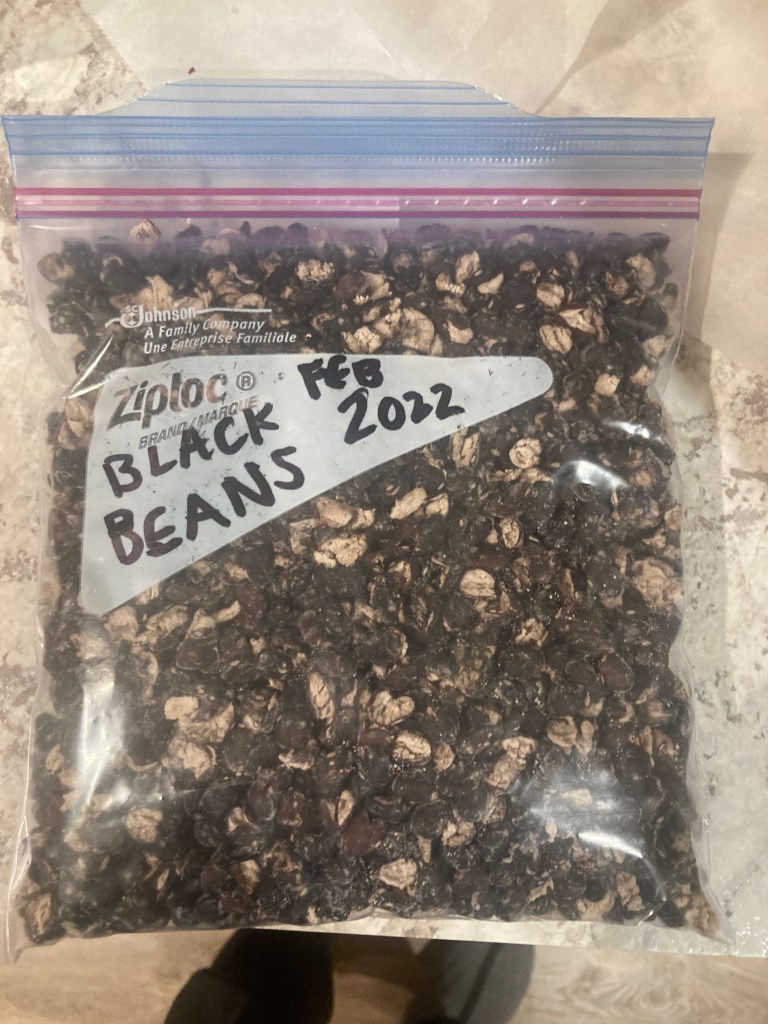
Place the dehydrated black beans into freezer bags for shorter term freezer storage or vacuum seal for longer term freezer storage.
Instructions For Dehydrating Corn:
Step 1:
Same as the beans, set dehydrator to 125 Degrees F and let heat up – give it 10 to 20 minutes.
Step 2:
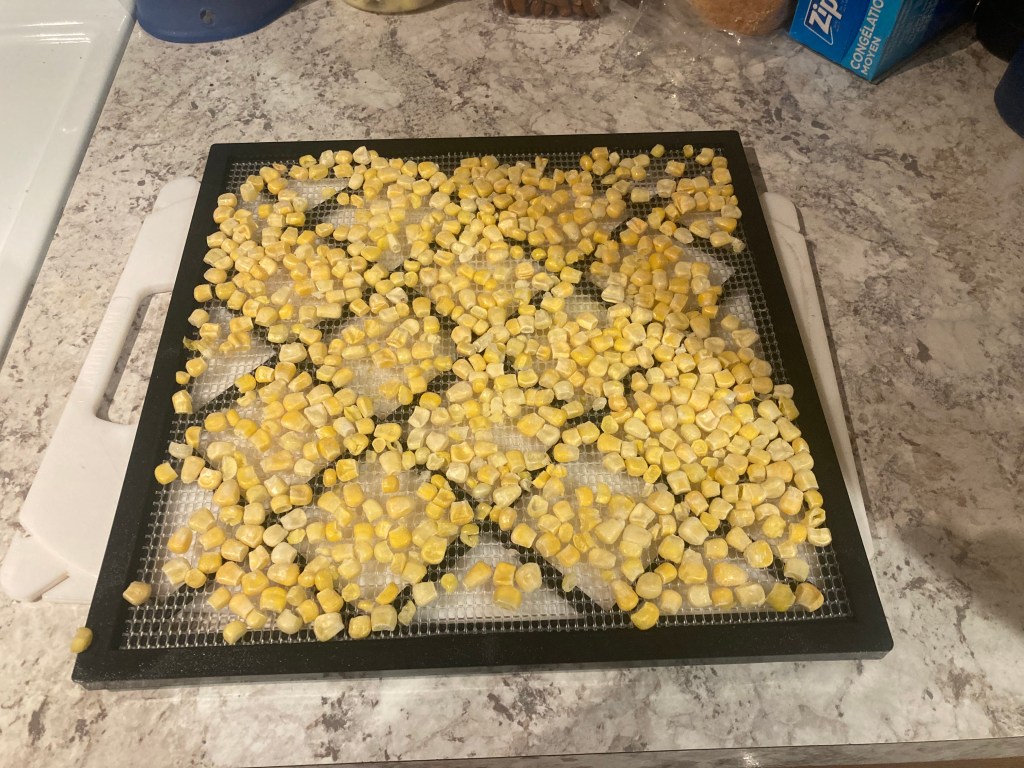
Spread one bag of frozen corn evenly over the 4 dehydrator trays.
The corn will mostly thaw, while the dehydrator is heating up.
I use the regular grated racks for this job.
Step 3:
Put the trays of corn in the dehydrator.
Same as the beans and pork. – After 3 hours of dehydrating, I rotate all of the trays and move up one level, while the top tray moves to the bottom level.
I move the trays every 1.5 hours, after the first 3 hours, so the meat dries evenly.
The corn is complete, when it’s dry to the touch and the pieces are brittle.
This normally takes about 6-10 hours.
Note: The interior temperature and humidity of your home will greatly affect this process.
Step 4:
Once complete remove the trays of corn from the dehydrator and let sit to cool.

Step 5:
Place the dehydrated corn into freezer bags for shorter term freezer storage or vacuum seal for longer term freezer storage.
Pulled Pork Taco Mix:
Now that you have the three ingredients dehydrated and ready, its time to make the mix.
The Mix:
4 parts pork
4 parts beans
2 parts corn
I find this amount usually uses up all of the ingredients that I dehydrated previously.
Portioning:
Weight into 50g portions
At this stage I add 1 Tsp (or more if needed) of Home made or Store Bought taco seasoning.
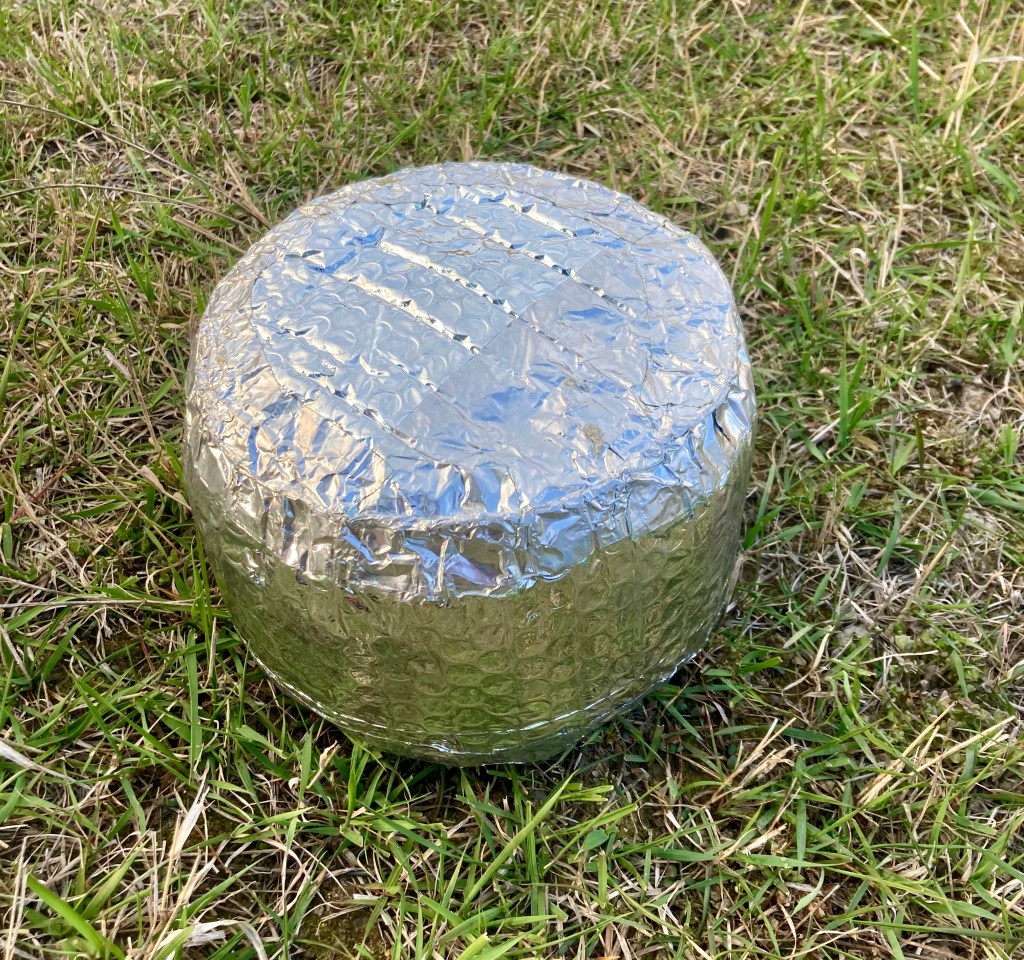
Vacuum seal and freeze until your next trip.
Makes approximately 6 lunches of 2 small wraps or 1 large wrap each.
Instructions for Re-hydrating Pulled Pork Taco Mix:
Step 1:
Open and pour the contents of vacuum sealed food pouch into pot and pour in just enough water to cover the dried food.
This meal normally requires about 1/2 a cup of water.
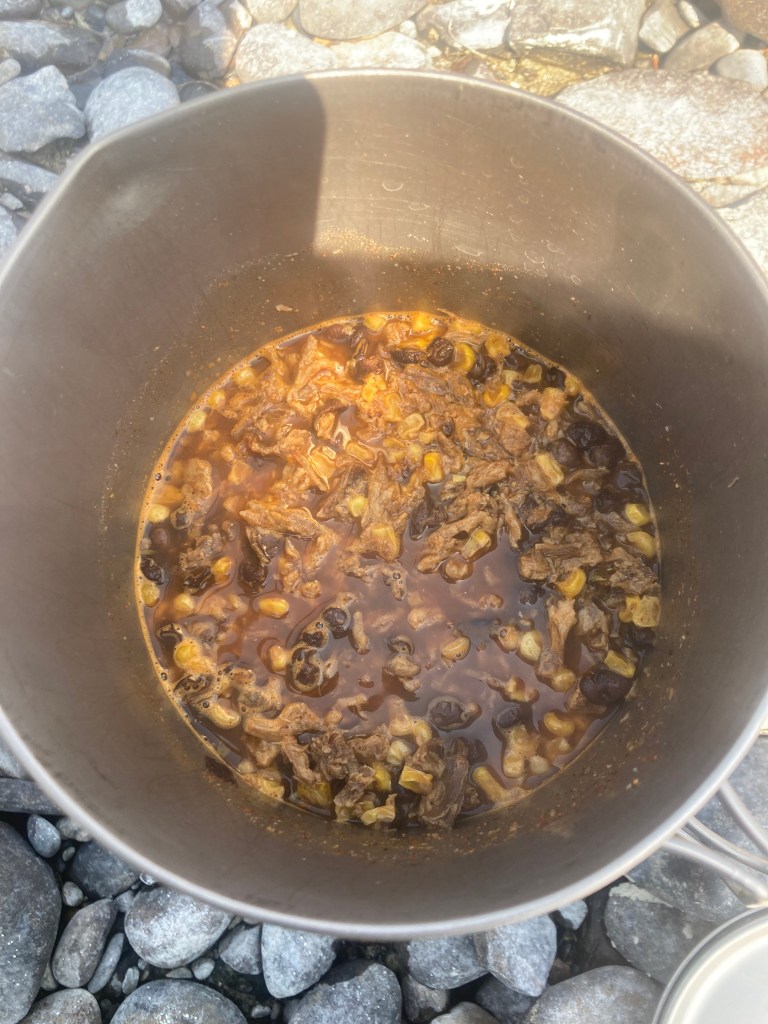
Step 2:
Place pot on stove, turn on medium – high heat, but watch as will not take long to boil.
Step 3:
Once boiling, give the meal a good stir, place the lid on the pot and remove from the heat. Turn off your stove and set the pot somewhere safe to finish the re-hydration process – Normally about 30 minutes.
Note: If you have a pot cozy, place your pot inside at this point for maximum re-hydrating power. If you don’t know what a pot cozy is, you should do a quick google search. It may just change your re-hydrating life. More to come in another post.
Step 4:
After 20-30 minutes the meal should be re-hydrated and ready to eat.
I usually just leave mine for 30 minutes and go be productive in some other way at camp. This always seems to provide me with great tasting and properly textured meals.
Note: This is dependant on the air temperature, but the meal will most likely have cooled down by the time it is re-hydrated and require a quick re-heat if you want a piping hot meal. You can skip the re-heat and still have a hot meal, if you use a pot cozy as mentioned in Step 3.
Step5:
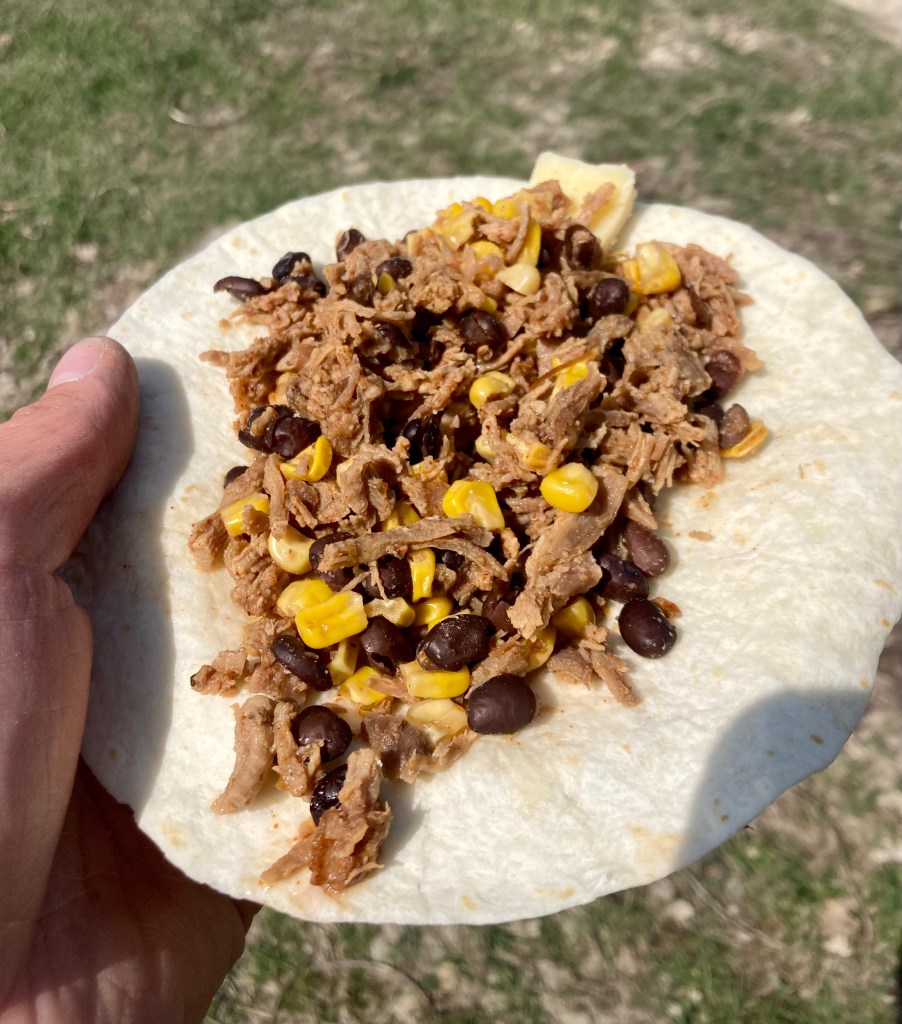
Get your favourite wrap ready.
Strain the extra juices into a water source or a grey water pit nearby.
Fill your wraps – usually good for 2 small wraps or 1 large.
Add cheese on top, if available.
Enjoy!
Conclusion:
Although there are a few steps involved to make this amazing, on the go lunch, I think you will find that it’s worth the extra time and effort. Its a meal that always puts a smile on my face, even when the weather is hitting hard and I am far from the comforts of home. I hope you all enjoy this backcountry meal as much as I do! As I said above, dehydrating and rehydrating chicken is done basically the same way. Don’t be afraid to experiment with your own meals and see what you can come up with.
Happy Adventuring!

Leave a comment