“An army marches on its stomach” – Napoleon Bonaparte.
Earlier on in my adventure career, I would often bring along Liptons brand “SideKicks” pasta or rice meals from the grocery store, along with an added protein like fresh caught fish, store bought salami or some jerky. Every now and then I would throw in a premade, freeze dried MRE – Meal Ready To Eat, like Beef Stroganoff or Chilli Mac with Beef. The “Sidekicks” were relatively cheap and there MREs tasted good enough, but after numerous days of eating any of the above for dinner and maybe for lunch was well, I often didn’t feel great. In an effort to have better quality food, better suited to my dietary needs and to cut costs I ended up going down a “rabbit hole” on Google search and Youtube, along with reading a few books to try and learn the “mysterious” ways of dehydrating my own food. To save you all some hassle I thought I would share how I dehydrate and rehydrate one of my main staples in my adventure food kit – Ground beef. It can be paired up with a lot of foods to create any number of meals, such as Shepherd’s Pie, or Pasta with Bolognese Sauce to name a few. Continue reading on to the end and I will share a super easy recipe for an easy comfort meal that can be created with dehydrated ground beef to keep your stomach happy on those long canoe trips and technical backpacking adventures.
Instructions for Dehydrating Ground Beef:
Step 1:
Clean your work area and your hands.
Prep all of the things you need before you start: large pot, strainer/collander, large spoon, jar/container to contain discarded fats, a kettle full of boiling water and enough ground beef to fill your dehydrator for one round.
I have a 12 inch by 12 inch, 4 tray, Excaliber dehydrator and find that I can dehydrate approximately 3 pounds of ground beef in one go.
At this time I also make sure that I have my dehydrator clean, dry and ready to go. I set the dehydrator to the desired temperature – 165 Degrees F and turn it on, so that it heats up prior to being needed. I let it warm up 20 minutes or so.
Step 2:
Bring a large pot of water to a rolling boil. Make sure the pot is large enough to have enough space for the beef and water so that the meat is submerged by at least one inch (2.5cm). This will allow the fats to easily float to the top for discard.
I typically use a 13L pot and boil 3 pounds of ground beef at a time.
Step 3:
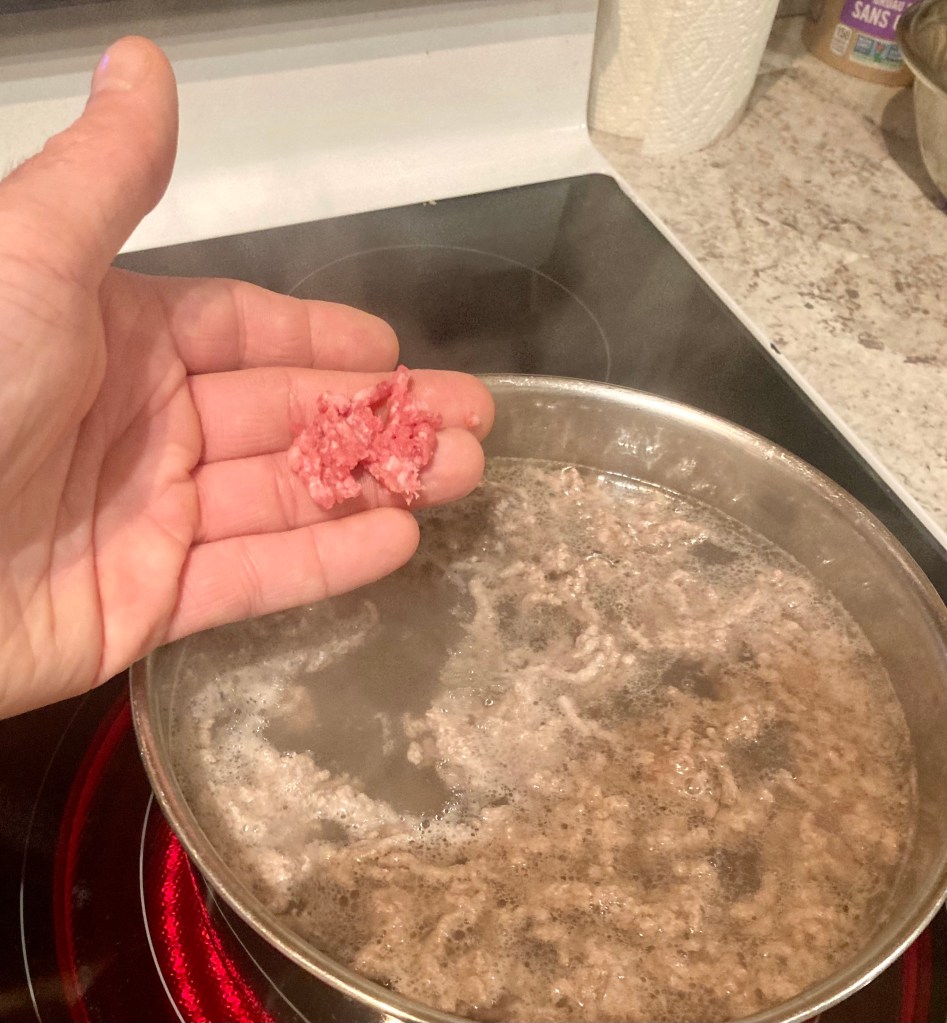
Pull apart the ground beef with your hands and slowly place the smaller chunks into the boiling water, until all of the beef is in the pot.
Turn down the stove burner so that the water will continue to steadily simmer/boil.
Note: I use the boil to cook method over the fry to cook method for a few reasons. Boiling allows more fat to separate easier from the meat. I find it allows more even cooking, cooks relatively fast and doesn’t allow the meat to overcook or become “gravelly” prior to dehydrating, all of which seems to create a better end product.
Step 4:

Do your best to break up any large pieces of ground beef, with a spoon, while it cooks the next 15-20 minutes.
Skim off any fat/oil that floats to the surface with a spoon. Discard the liquid fat into a jar for disposal into the garbage, after cooling and hardening.
Note: Removing the fat is an important step for the overall safety and quality of the dehydrated food. Any fats left on the meat could cause the food to go rancid, especially during prolonged periods without cooling, such as long, especially hot canoe trips.
Step 5:
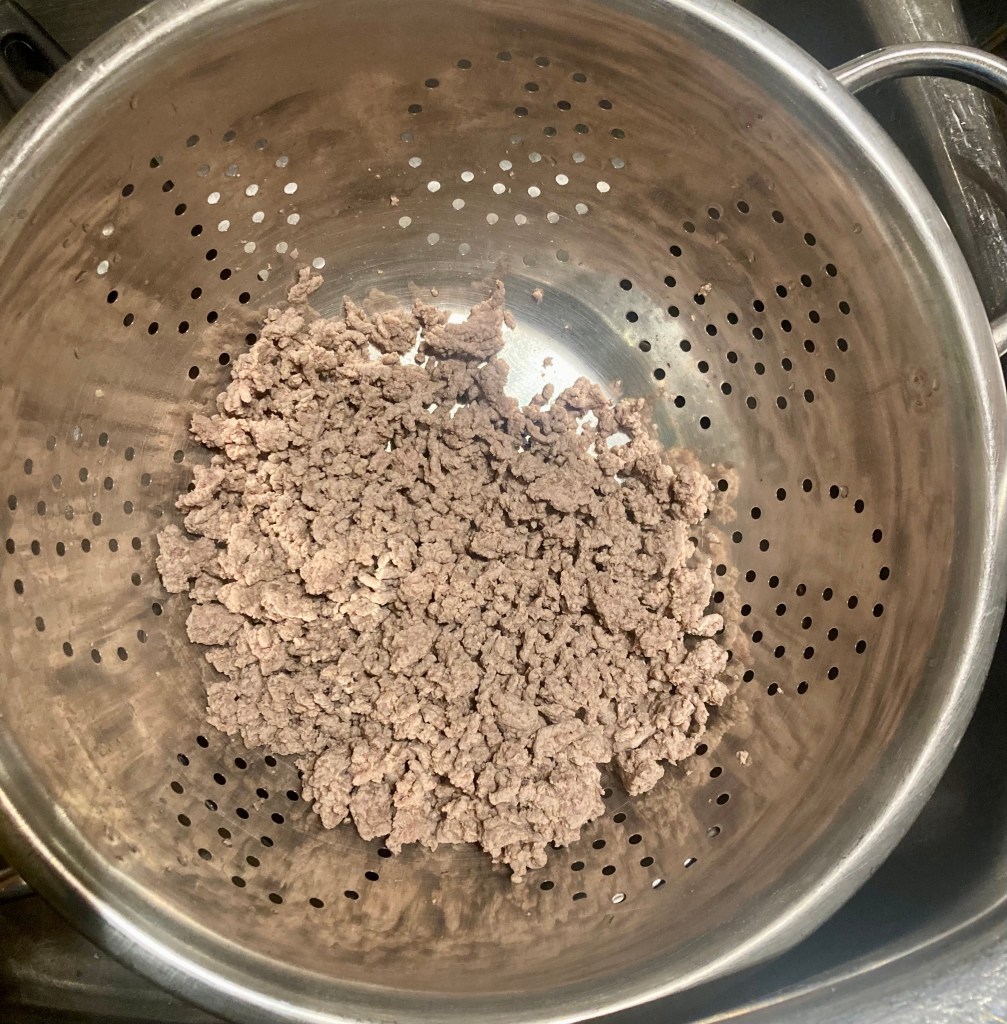
Once cooked completely through, strain the mostly fat free water from the meat into the sink, using a large strainer/collander.
At this time I like to pour a pre-prepared kettle of clean boiling water over the ground beef to make sure that there is little to no fat left behind and strain again, before dehydrating.
Step 6:
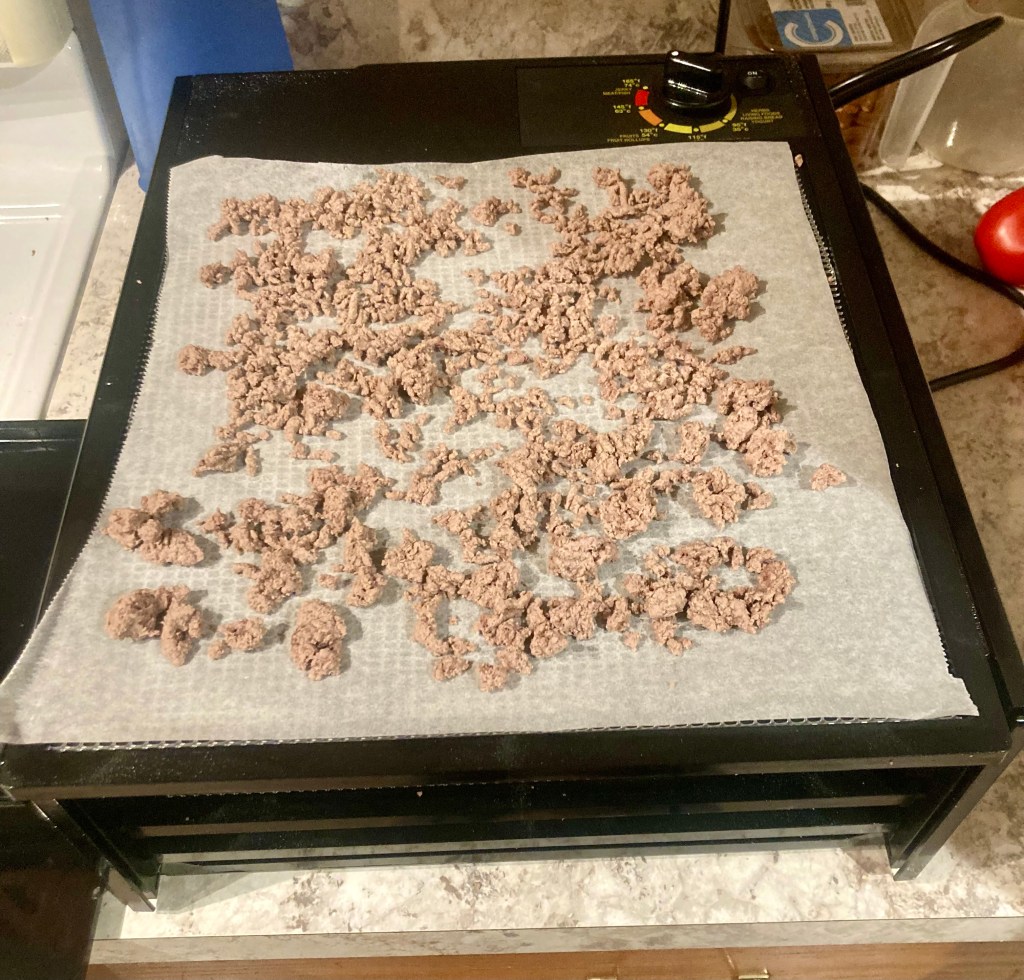
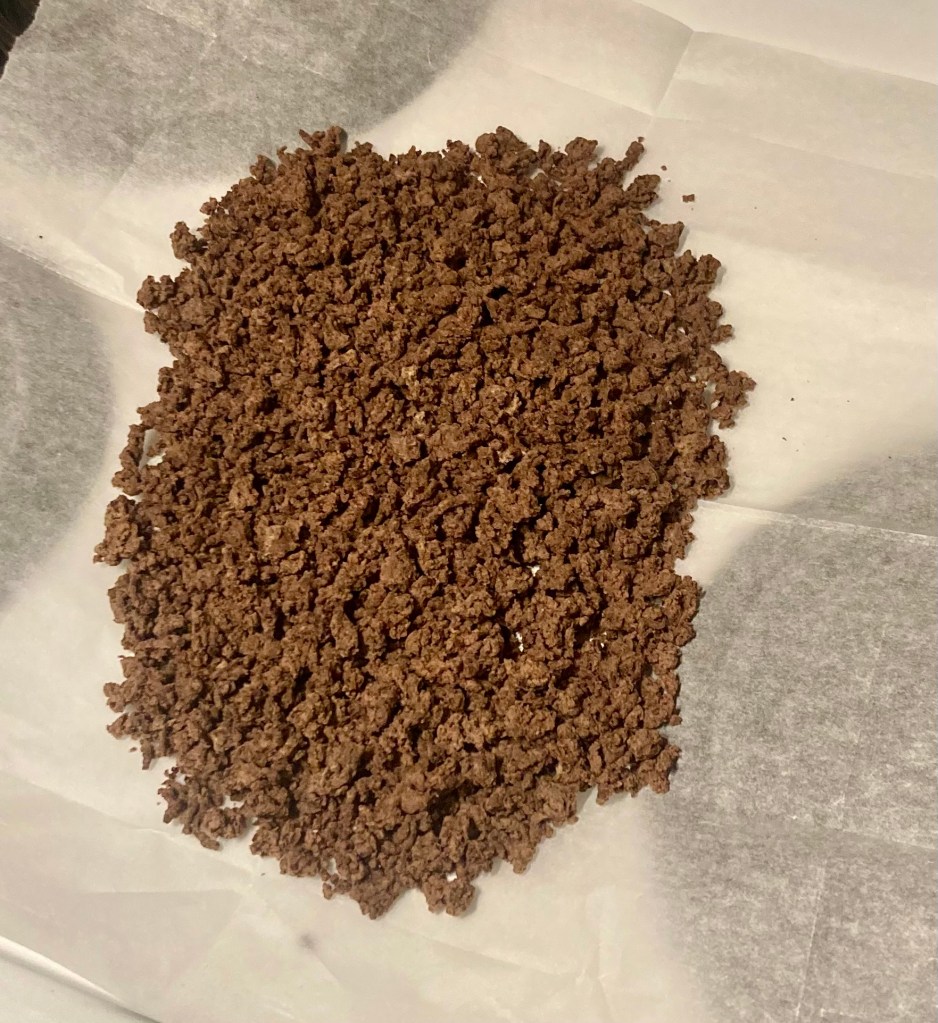
Once cooled enough to handle, I quickly spread the evenly cooked ground beef over my four trays, with silicone liners installed and insert them in to the pre-warmed food dehydrator – set to 165 Degrees F.
The use of silicone liners prevent small crumbs from falling through the normal grated liners as the ground beef dehydrates.
Step 7:
After 3 hours of dehydrating, I rotate all of the trays and move up one level, while the top tray moves to the bottom level.
I move the trays every 1.5 hours, after the first 3 hours, so the meat dries evenly.
The ground beef is complete, when its dry to the touch – firm, but not crumbly.
This normally takes about 4-6 hours. The interior temperature and humidity of your home will greatly affect this process.
Step 8:
Let the now dehydrated ground beef cool down and place into freezer bags for shorter term freezer storage or vacuum seal for longer term freezer storage.
I usually vacuum seal in bulk until my trip gets near. A few days before my trip, I will remove the meat from the freezer, mix with other foods and vacuum seal in pre-portioned sizes or pre-portion the ground beef on its own and vacuum seal into individual bags.
Note: All of the information I have read seems to put the shelf life of vacuum sealed and frozen ground beef at no longer than 2 years, before it is not usable anymore. It is not recommended to store in air tight containers at room temperature for more than two weeks. If you can keep the ground beef relatively cool, dry and vacuum sealed it should keep in the 1-2 month range. If anyone has any further information on shelf life or to correct me, shoot a message down in the comments.
Portion: You may have to adjust this to your liking, but I find that 50grams of dehydrated meat (pork, chicken, beef) is appropriate for one serving, for one person. I will use this amount for adding to meals like Shepards Pie, Pasta and Meat Sauce, etc…
Step 9:
Clean and dry your dehydrator, shelves and other parts and store for next use.
Instructions for Re-hydrating Ground Beef:
Step 1:
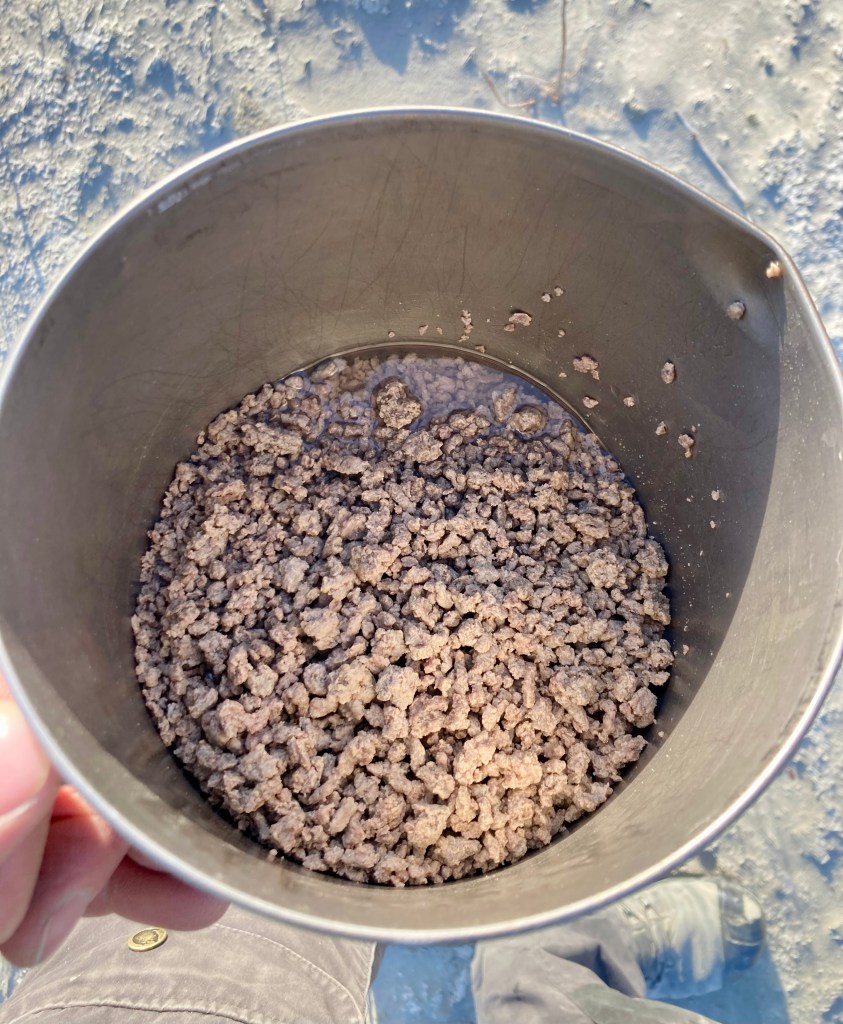
Open and pour the contents of vacuum sealed food pouch into pot and pour in just enough water to cover the dried food.
Step 2:
Place pot on stove, turn on medium – high heat, but watch as will not take long to boil. Most meals require 1 cup of water or less for an individual meal and this doesn’t take long to come to a boil.
Step 3:
Once boiling, give the meal a good stir, place the lid on the pot and remove from the heat. Turn off your stove and set the pot somewhere safe to finish the re-hydration process.
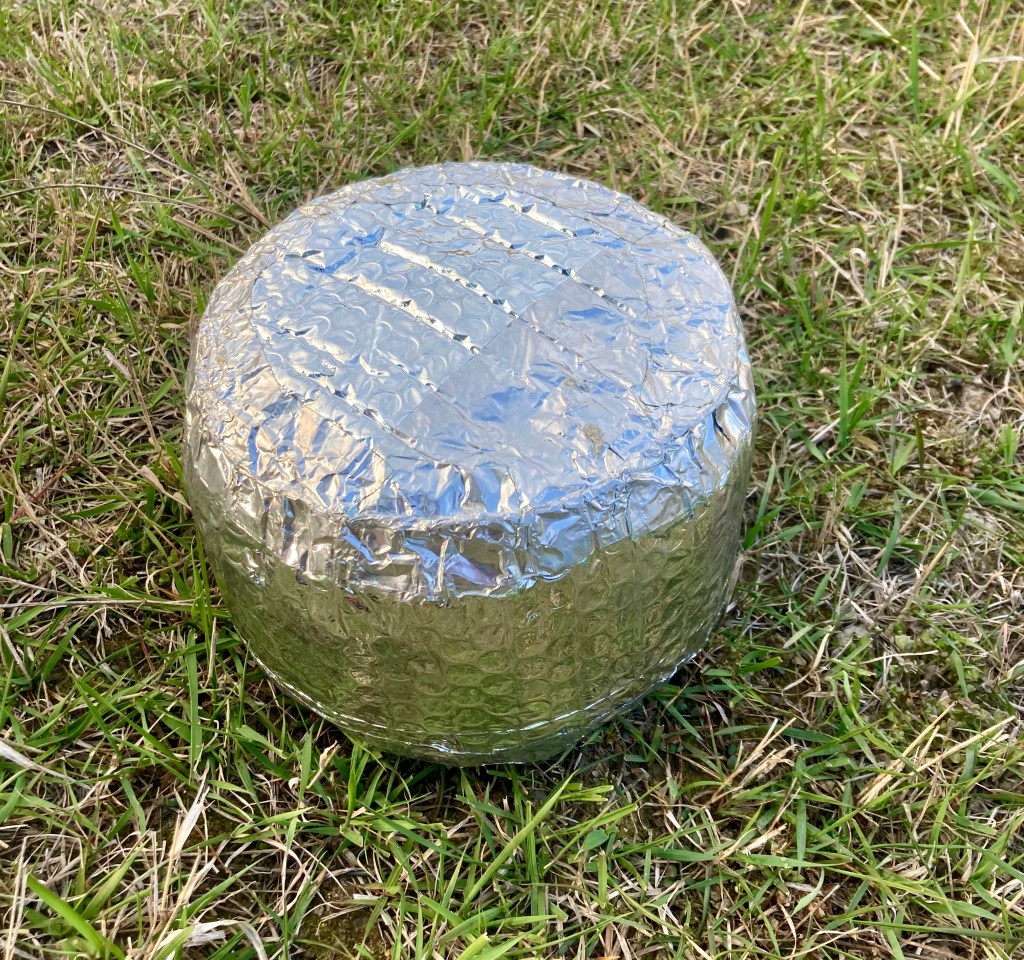
Note: If you have a pot cozy, place your pot inside at this point for maximum re-hydrating power. If you don’t know what a pot cozy is, you should do a quick google search. It may just change your re-hydrating life. More to come in another post.
Step 4:
After 20-30 minutes the meal should be re-hydrated and ready to eat. I usually just leave mine for 30 minutes and go be productive in some other way at camp. This always seems to provide me with great tasting and properly textured meals.
Note: This is dependant on the air temperature, but the meal will most likely have cooled down by the time it is re-hydrated and require a quick re-heat if you want a piping hot meal. You can skip the re-heat and still have a hot meal, if you use a pot cozy as mentioned in Step 3.
Step 5:
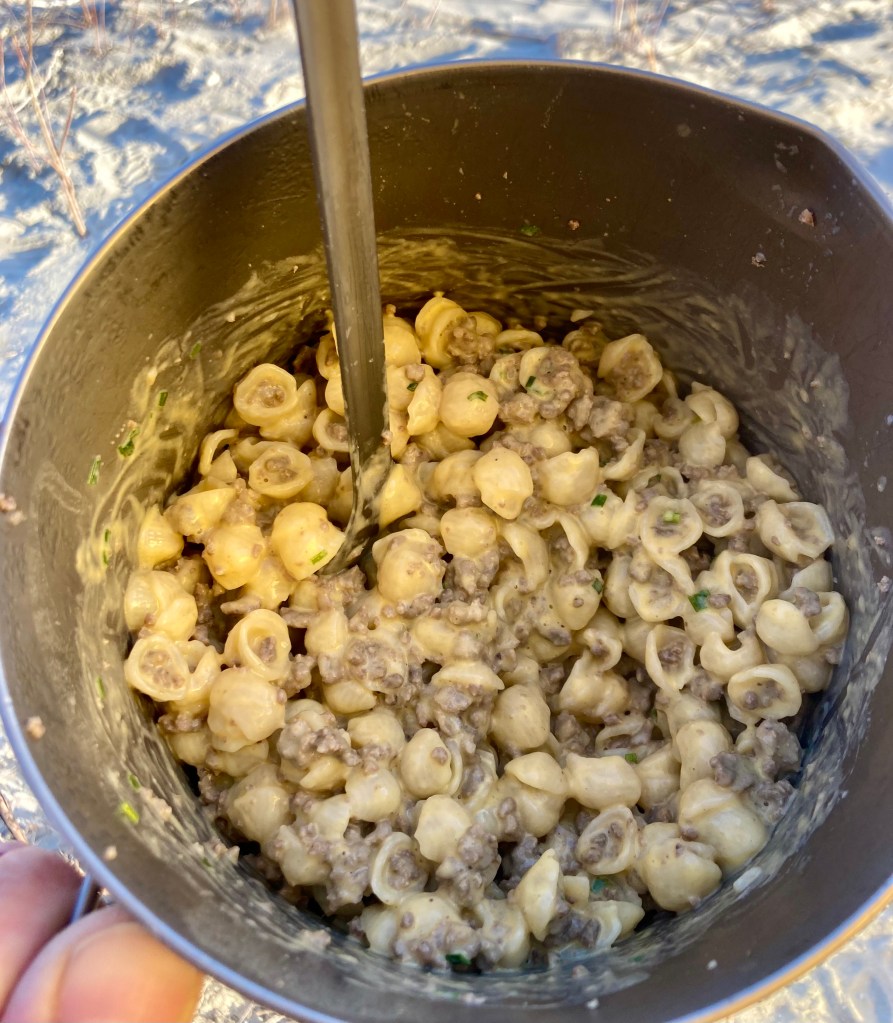
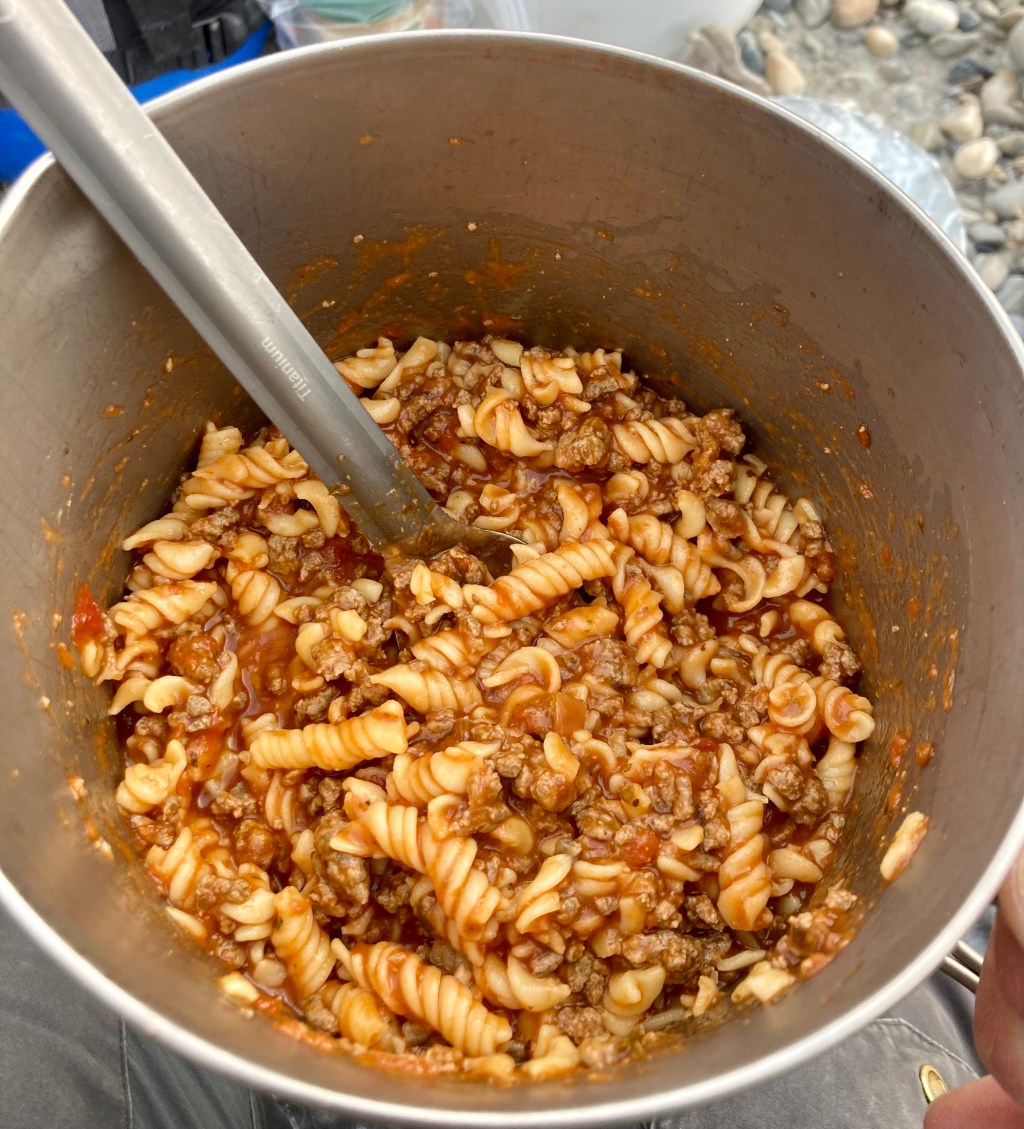
Mix with other ingredients like Annie’s Macaroni and Cheese, along with some Freeze Dried Chives (store bought) to make a rich and creamy comfort meal, when you are far from home. Enjoy!
Conclusion:
If making your own backpacking food sounds like way too much, but you are looking for quality food or maybe have dietary issues, take a minute to check out both Peak Eats based out of Canmore, AB and Gone Gourmet based out of Invermere, BC. They both ship dehydrated meals to your door or post office box. I have used Peak Eats for a number of years now. They have always had simple meals, that filled me up, without all of the extra preservatives and salt of other MREs and they can cater to dietary restrictions, if needed. I have found some extra spices or seasonings may be necessary at times, but overall I was happy with their meals. This past summer I came across Gone Gourmet and they are another quality option for dehydrated meals. “Just add water and go”, is their motto. They specialize in creating meals for people with dietary restrictions. All of their meals are 100% grain, gluten and dairy free.
Note: I am not sponsored by any of the companies listed above.
My intent is not to become a “Food Blogger”, but I do plan to create a few more dehydrating tips and recipe blogs, along with other canoe and hike related information to help you get outside and enjoy your time in the wilderness. So keep following along for more content like this and more.
Happy adventures!

Leave a comment